Interior Painting That Looks Better Five Years Later
Living rooms, bedrooms, kitchens, ceilings, and trim — painted with the prep-first approach that makes the finish last.
500+
Interiors Painted
All
Room Types
SW & BM
Premium Paints
Free
Estimate
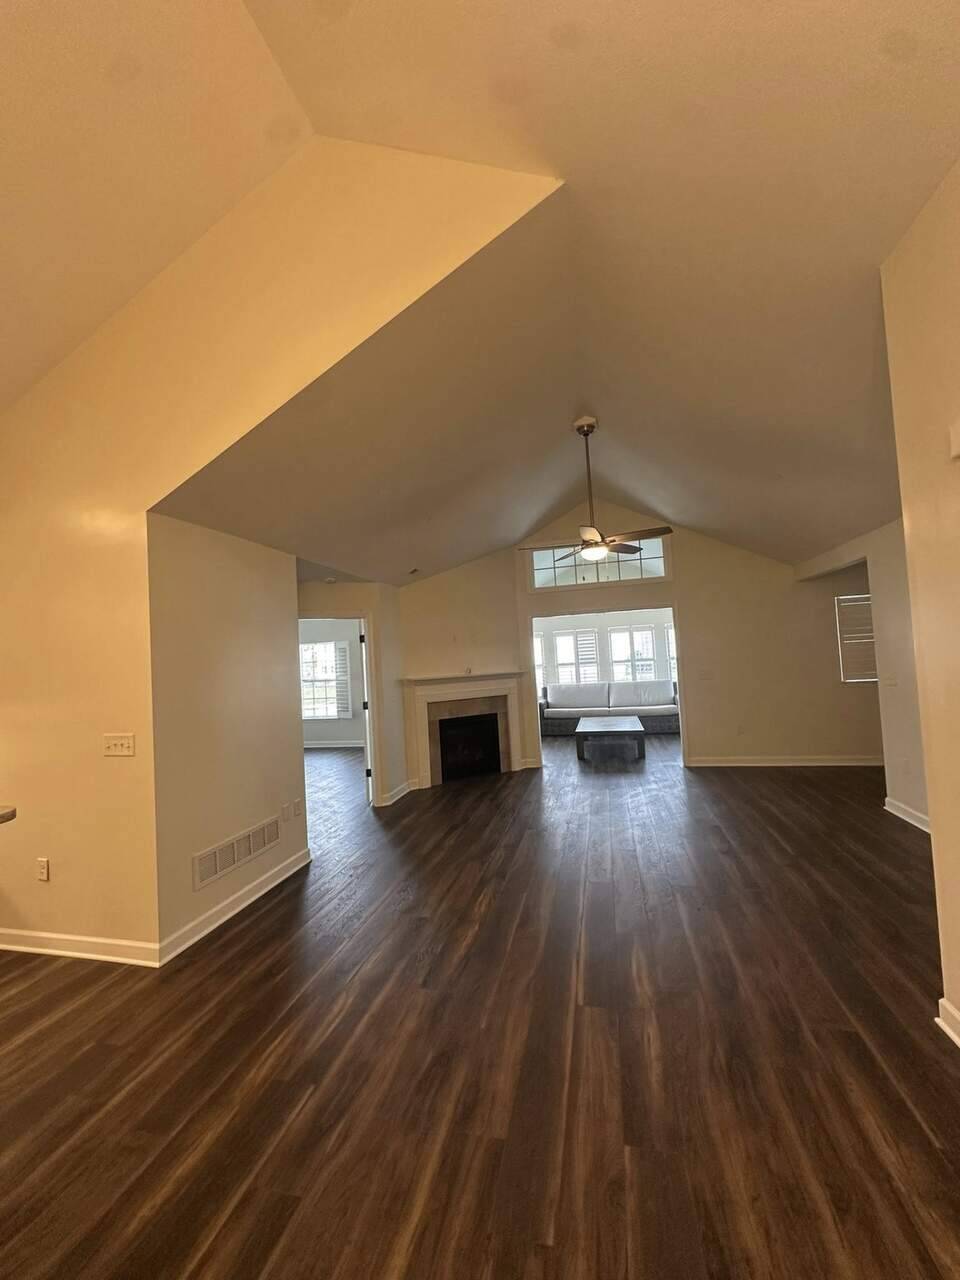
Every Room in Your Home, Done Right
We paint every interior surface a homeowner cares about — from the ceiling above your head to the baseboards underfoot. Most projects mix and match: a master bedroom and the connecting hall, all the trim in a renovation, the entire main floor before listing.
- Living Rooms & Family Rooms
- Bedrooms & Nurseries
- Kitchens & Dining Rooms
- Bathrooms (with mildew-resistant paint)
- Hallways & Stairwells
- Ceilings (flat & vaulted)
- Trim, Doors & Baseboards
- Built-Ins & Crown Molding
- Basements & Bonus Rooms
Five Steps Before a Single Brush Touches Color
Wash & Inspect
We wipe down walls to remove dust and grease that prevent paint from adhering, then mark every imperfection.
Patch & Caulk
Holes, cracks, and gaps get filled with the right product — spackle for drywall, caulk where surfaces meet.
Sand Smooth
Patches and previously-painted trim get sanded so the final finish is dead-flat with no visible repair lines.
Prime Where Needed
Stains, bare drywall, and deep color changes get a stain-blocking or bonding primer before color goes on.
Two Premium Coats
Two full coats of Sherwin-Williams or Benjamin Moore — never one heavy coat trying to do the work of two.
Which Sheen Belongs in Which Room
Picking the right sheen matters as much as picking the right color. Here's our default recommendation by room type — we'll fine-tune during your color consultation.
| Sheen | Best For |
|---|---|
| Flat / Matte | Ceilings, low-traffic adult bedrooms |
| Eggshell | Living rooms, dining rooms, hallways |
| Satin | Kids' rooms, family rooms, kitchens |
| Semi-Gloss | Trim, doors, bathrooms, kitchens |
| Gloss | Cabinets, accent doors, statement trim |
How Your Project Day Actually Works

Day 1: Furniture moved to room center, drop cloths down on floors, plastic over remaining pieces. Prep work begins immediately.
Day 2–3: Walls patched, caulked, sanded, and primed. First coat goes on by midday.
Day 4–5: Second coat, trim painted last for the cleanest cut lines, walkthrough with you, touch-ups, and full cleanup.
Interior Painting Questions
No — we wash and prep every wall as part of the project. We never skip this step, even when walls look clean. Dust, hand oils, and cooking residue silently prevent paint from bonding properly.
Satin or semi-gloss is ideal for bathrooms because they shed moisture and resist mildew far better than flat or eggshell. We use mildew-resistant formulations specifically designed for bathrooms.
Two full coats is our default. Some deep color changes (e.g. red over white) get an additional tinted primer coat. We never oversell coats you don't need — but we never undersell either.
Yes. We move what we can, slide the rest to the center of the room, cover everything with clean drop cloths, and paint with extra precision around immovable items.
Call us — we come back. Every interior project is backed by a touch-up guarantee. Drips, missed spots, or marks during the cure window all get fixed at no charge.
Ready to refresh the inside of your home?
Most interior estimates take 30 minutes on-site and arrive in your inbox the same day.